Welcome back to another Totally Techniques Design Team blog hop! This month we are highlighting Stampin' Blends, which are some of my favourite tools in the Stampin' Up! collection!
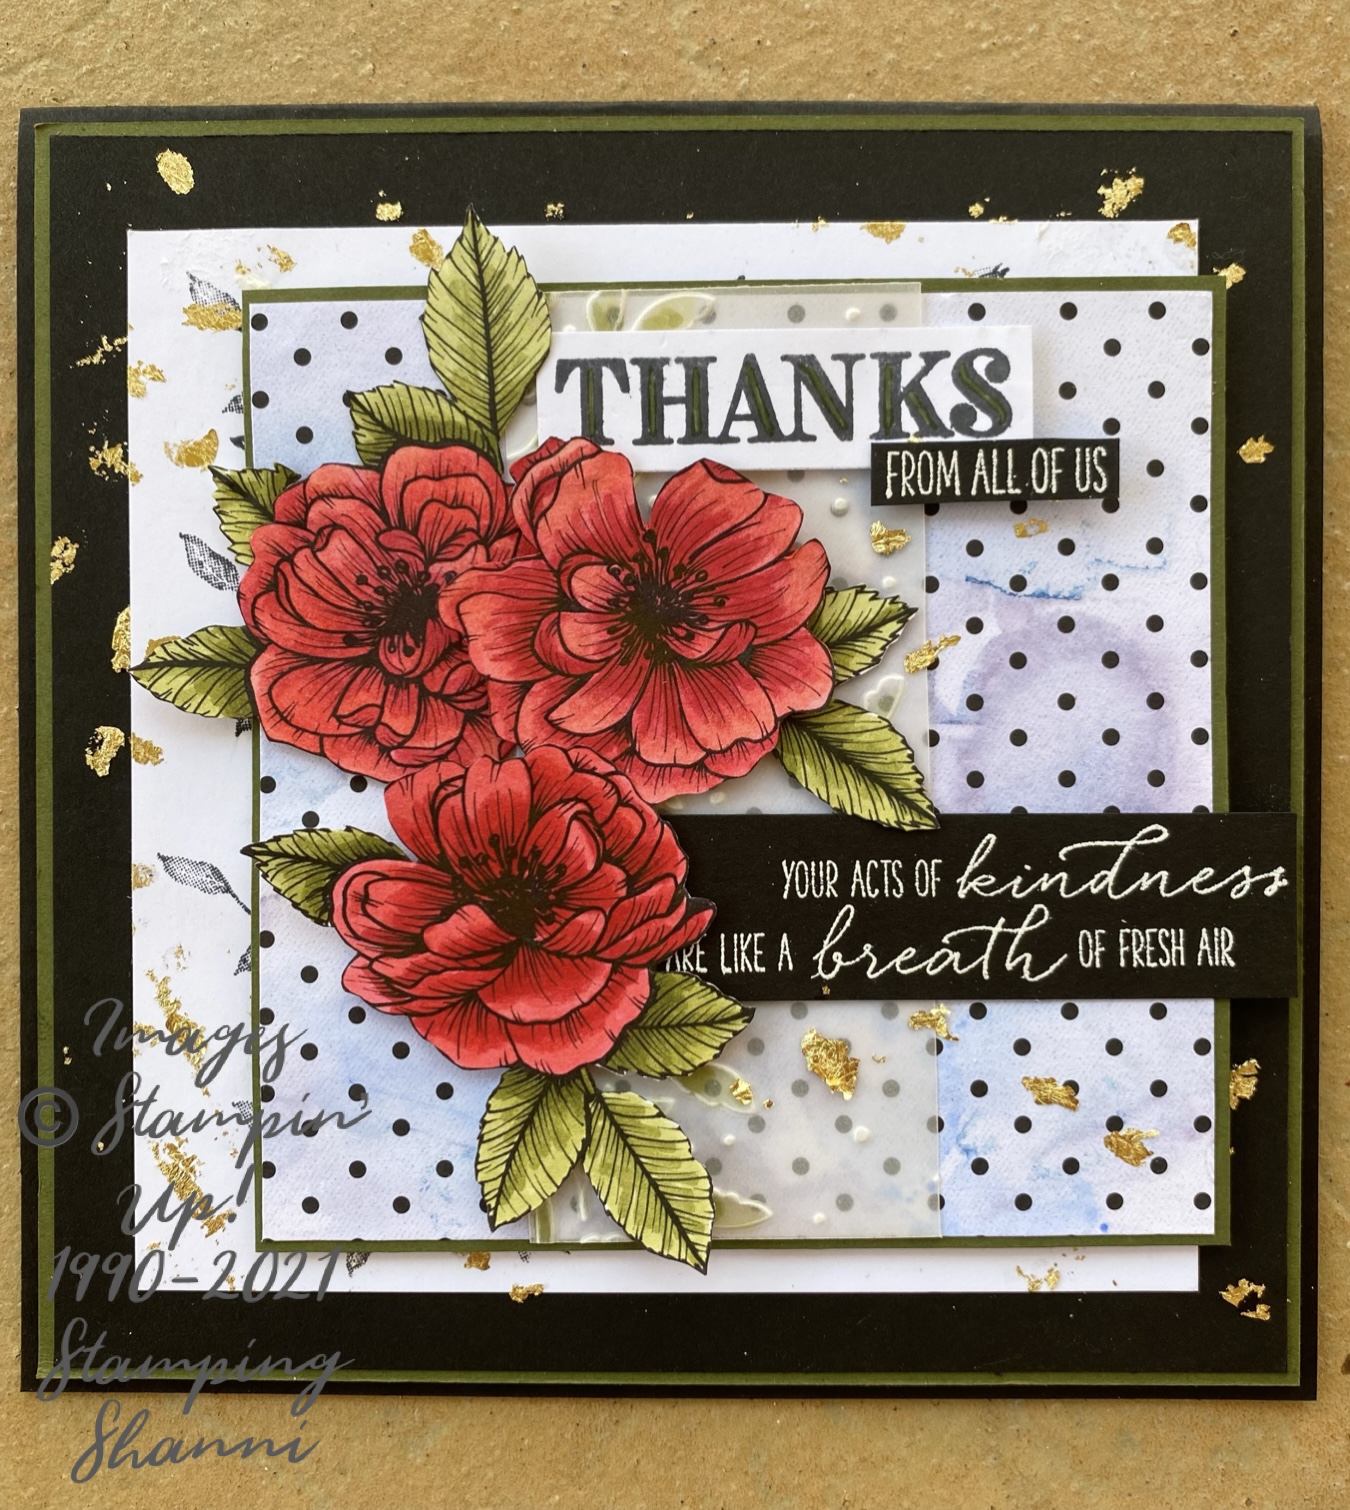
This is my project this month:
You can probably see that it is a square card 6"x 6" and features a number of materials, stamps and tools.
This is what I have used:
Basic Black cardstock
Mossy Meadow cardstock
Whisper White cardstock
True Love Designer Series Paper
Vellum cardstock
Window Sheets
Meadow Moments Embossing Folder
Very Versailles stamp set
Garden Wishes stamp set
Ornate Thanks stamp set
Versamark Ink
Memento Tuxedo Black ink
Gilded Leafing Embellishment
Heat & Stick Powder
White Stampin' Emboss Powder
Stampin' Blends
Dark and Light Real Red
Dark and Light Poppy Parade
Dark and Light Old Olive
Dark and Light Night of Navy
Dark and Light Balmy Blue
Dark and Light Pretty Peacock
So the base card is Basic Black, mounted with Whisper White inside, and with a square of Mossy Meadow, then Basic Black on the front.
The feature area is a square of Whisper White, which is stamped with the leaf image fromVery Versailles stamp set in Memento Black. I then mounted a sheet of the True Love DSP which I treated using Stampin' Blends and rubbing alcohol. I embossed a piece of Vellum card stock with Meadow Moments embossing folder.
I thought I would show you a different way to use the Stampin' Blends. A great use for subtle backgrounds when you don't have the right colours for a watercolour background. All you need is:
Window Sheet (clear acetate sheet)
Stampin' Blends (I used blues on this occasion)
Rubbing Alcohol
True Love DSP
You simply scribble the Stampin' Blends on the window sheet randomly, then sprinkle with rubbing alcohol. The faster you do this the better the colours will blend and attach to your card. You lay your card on the acetate sheet and rub the back of the card to pick up the colour. Your card will get a bit damp. Leave it to dry thoroughly.
You can see that I didn't go to too much trouble. You can use the same scribbled colours again, just add more rubbing alcohol. It leaves a light but distinct water colour like effect on your card.
I like it because its subtle but at the same time adds a different interest and focal point to the card. It works even better on light coloured cardstock.
Vellum is under-utilised and I love it because its light and add texture and layers to my cards. For today's project I embossed the vellum using the Meadow Moments embossing folder.
Once I had embossed it, on the reverse side (so the side that is impressed), I coloured the leaves using the Dark and Light Old Olive Stampin' Blends. It makes the vellum look like stained glass from the other side. It's not hard to do and a great technique using Stampin' Blends. It would well on bouquets of flowers and Christmas cards.
For the flowers - fussy cut three separate flowers from the True Love Designer Series Paper from the Occasions Mini. I adore this paper and think that it makes a great background and feature on all projects.
The flowers are very forgiving to colour, you can make mistakes and you can barely tell that you did! I coloured using the Real Red and Poppy Parade Stampin' Blends for the flowers and the Old Olive blends for the leaves. As I mentioned. I fussy cut them and I moved a couple of leaves around because I wanted to balance the composition.
The top left flower is glued directly to the card and the top right and bottom flowers are attached using dimensionals. The leaves on the top left have been cut from another area on that flower and have been stuck direct to the card beneath the flower. The little leaf facing 11 o'clock on the top left hand flower was cut off the flower image of the top right flower.
I did a combination of sentiments. I heat embossed the white on black cardstock using the sentiments from the Garden Wishes stamp set. I cut the sentiments to size. If I made this card again, I would move the flowers a little more to the left so the sentiment fits better. The "thanks" is from the Ornate Thanks stamp set, stamped in Momento Black on white card. I coloured the void in the middle of the letters using the Dark Old Olive Stampin' Blend pen.
Final step was to add some bling, I added random gold leaf with the Gilded Leafing Embellishment and Heat and Stick powder. I kind of tapped the Versamark ink on the card on its corner, added the heat and stick and then followed with the leaf. I use tweezers to remove from the jar and apply.
An unusual combination of stamps, techniques and uses of the Stampin' Blend pens, which I hope inspires you to take a look. I love Stampin' Blends, because I love to colour in. They are a relaxing and forgiving colour tool to use. I always start with the dark tone, I use them sparingly because it's easier to add colour than take it away and then I add the lighter tone next.
Stick around and check out our other Design Team projects. They are so inspiring!
Until next time,
Stay Glittery,